
hardware build
Pi Command Server
An always-on AI dev server the size of a deck of cards. It runs Claude Code sessions around the clock. You drive it from a tablet or phone, from anywhere, over a private encrypted network. This is the exact machine our whole operation runs on.
our build cost
AU$735
build time
~half a day
skill level
first-timer OK
running cost
~$1/mo power
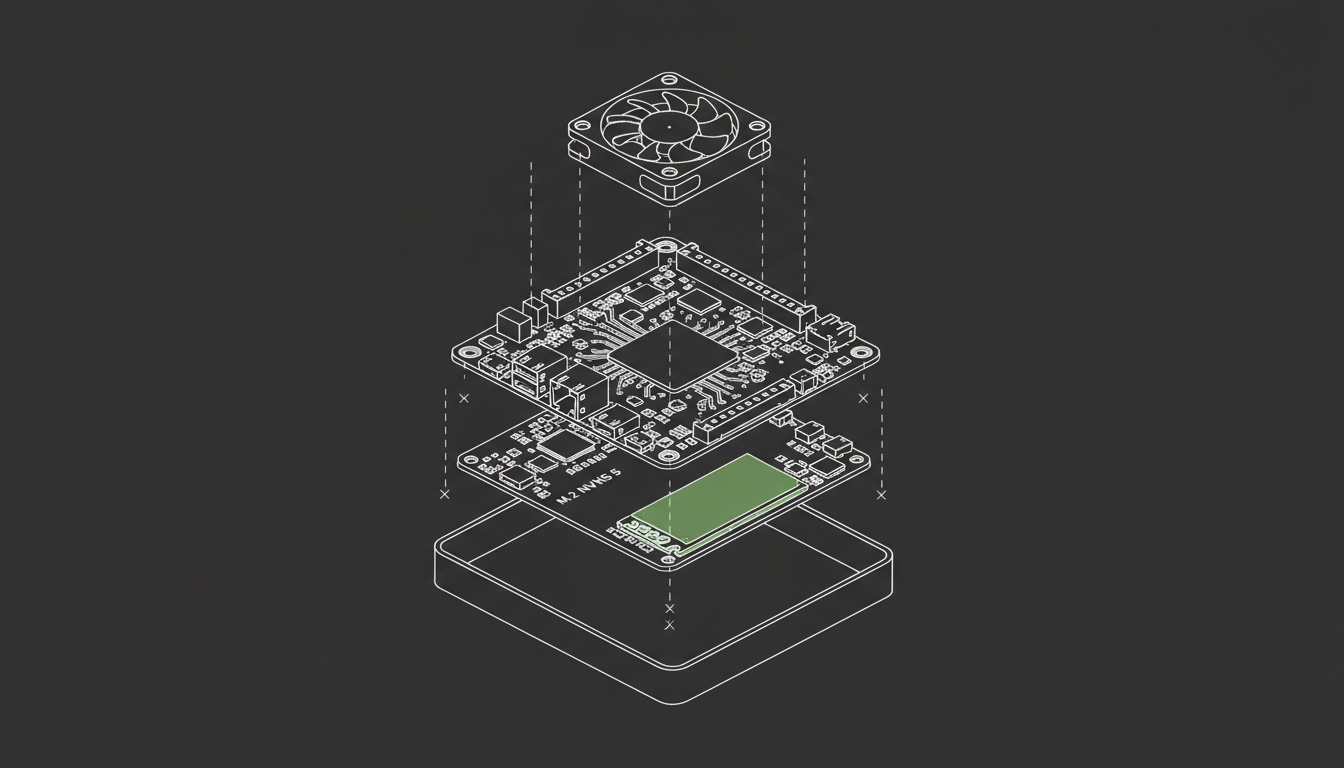
what you're building
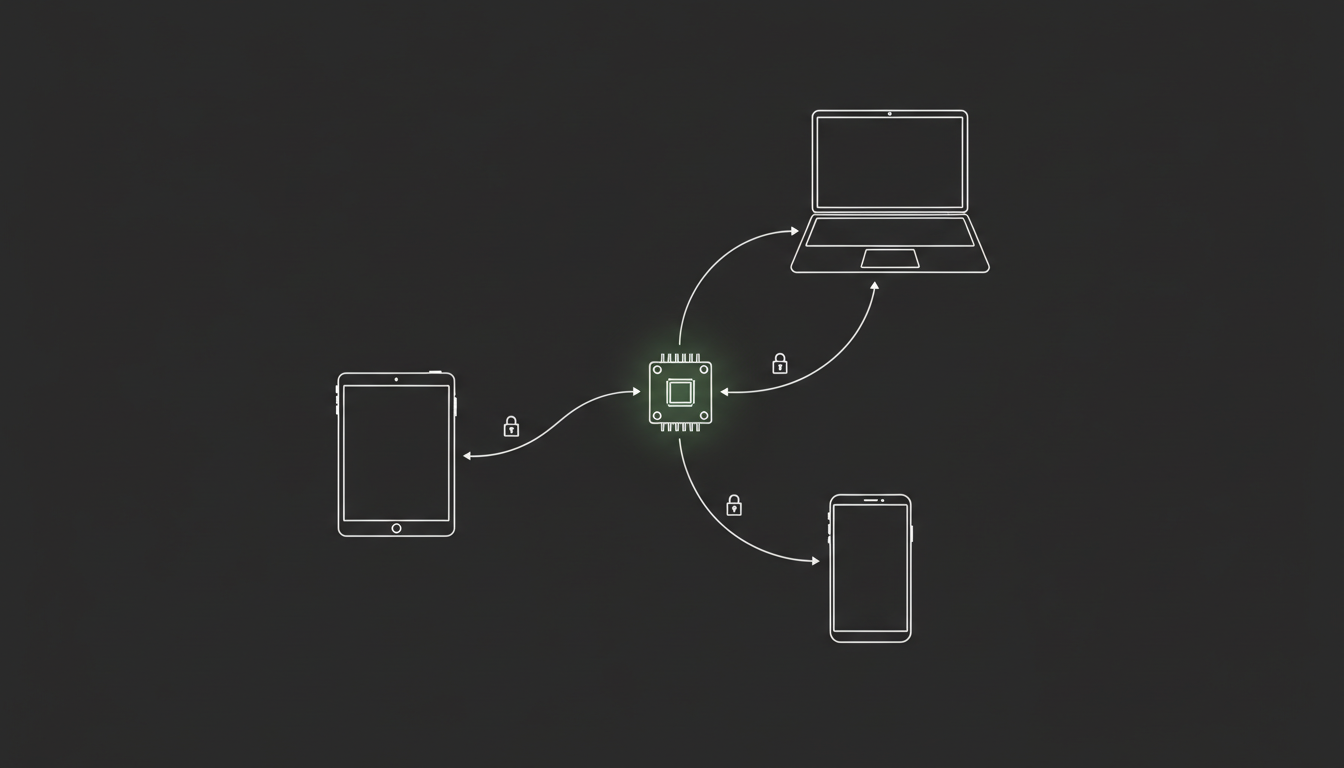
One small box. Every device becomes a terminal.
The Pi sits at home, always on. Tailscale puts it on a private network with your tablet, phone and laptop. SSH in from any of them, attach to a tmux session, and your AI coding sessions are exactly where you left them. No cloud bills. No open ports.
Sessions never die
tmux keeps every session alive on the Pi. Close the tablet, switch to the phone, come back tomorrow. You reattach and nothing was lost.
Private by default
Tailscale is a WireGuard mesh. Nothing is exposed to the public internet. Only your signed-in devices can reach the Pi, from home Wi-Fi, 5G or cafe Wi-Fi alike.
A real IDE too
code-server gives you full VS Code in the tablet browser, served from the Pi over HTTPS. Terminal for the work, IDE for the reading.
the parts list
Two orders. You buy direct from the vendors.
Start with the official desktop kit, then add the storage and cooling upgrade. The kit alone gets you running. The upgrade makes it a proper server: fast NVMe storage, active cooling and a clock that survives power cuts.
Nothing is for sale on this page. The guide and the pack are free. This list shows what the parts cost at the vendors named, so you can budget the build. You buy from them directly.
Order 1 · The desktop kit
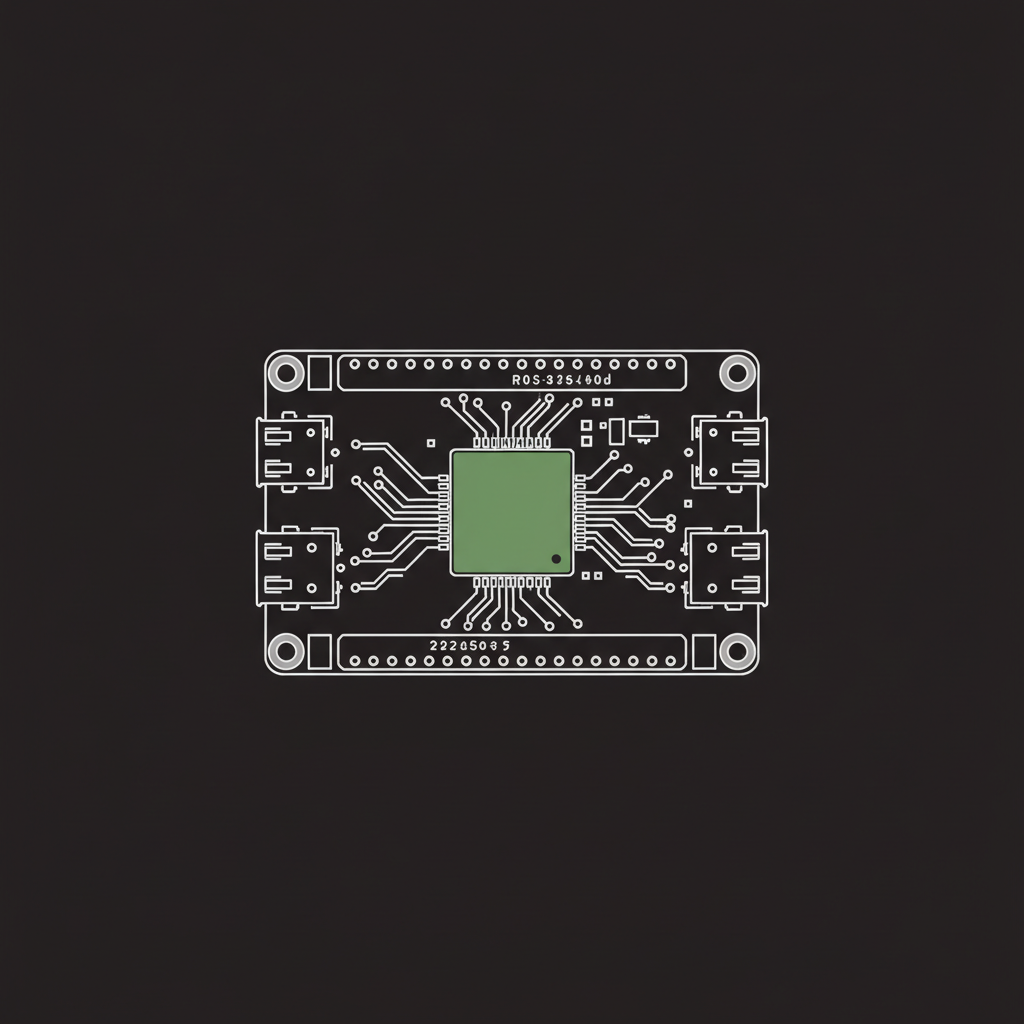
Raspberry Pi 5 board, 16GB RAM
—
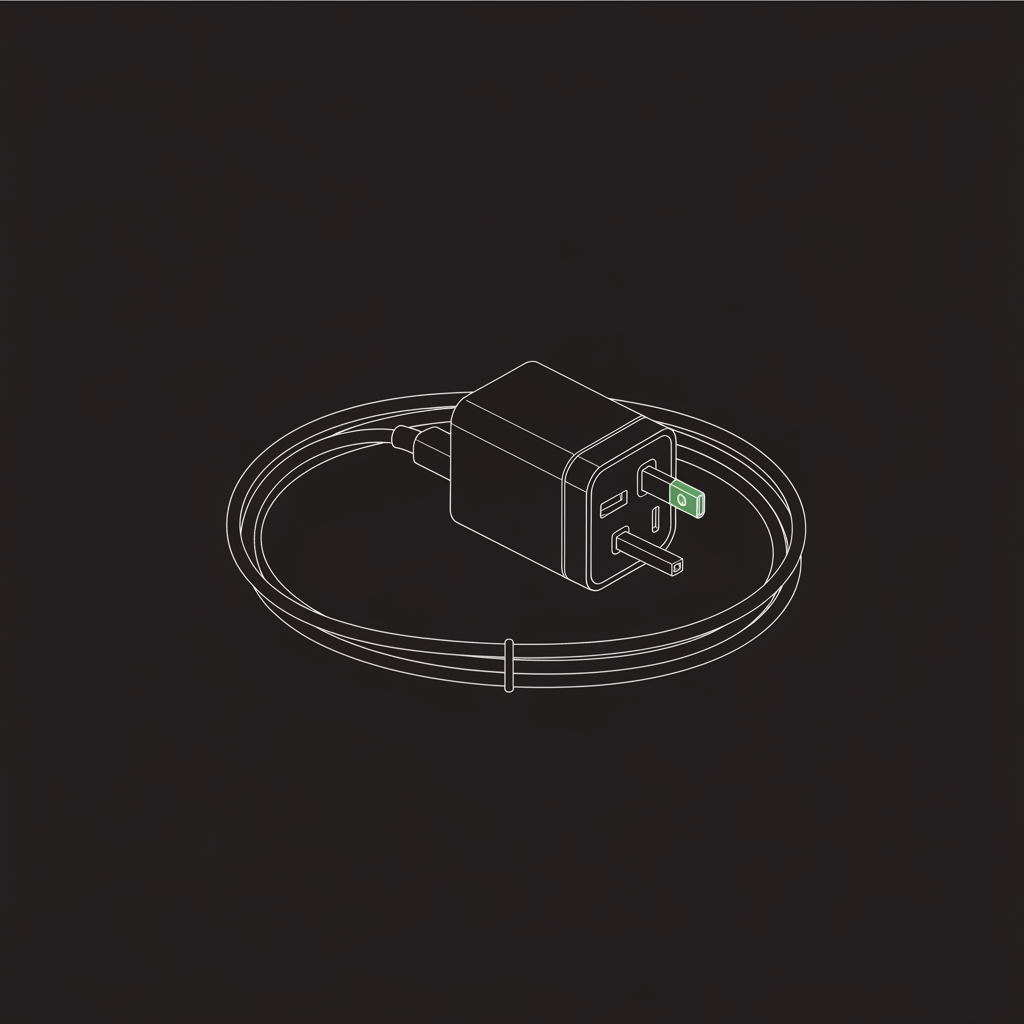
Official 27W USB-C power supply
—
Official case with fan, 32GB SD (OS pre-loaded), keyboard, mouse, HDMI cables
—
what we paid
AU$451.00
Order 2 · The server upgrade
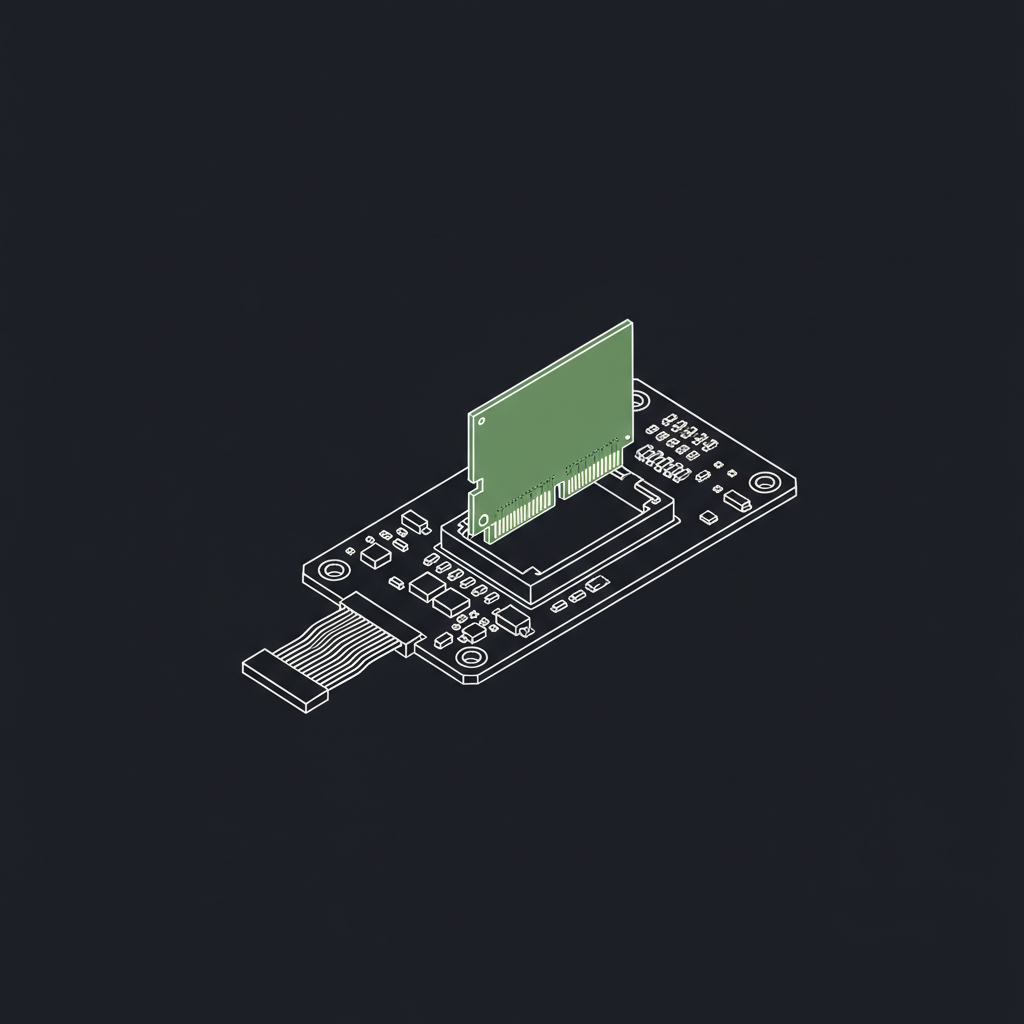
Pimoroni NVMe Base
$26.20
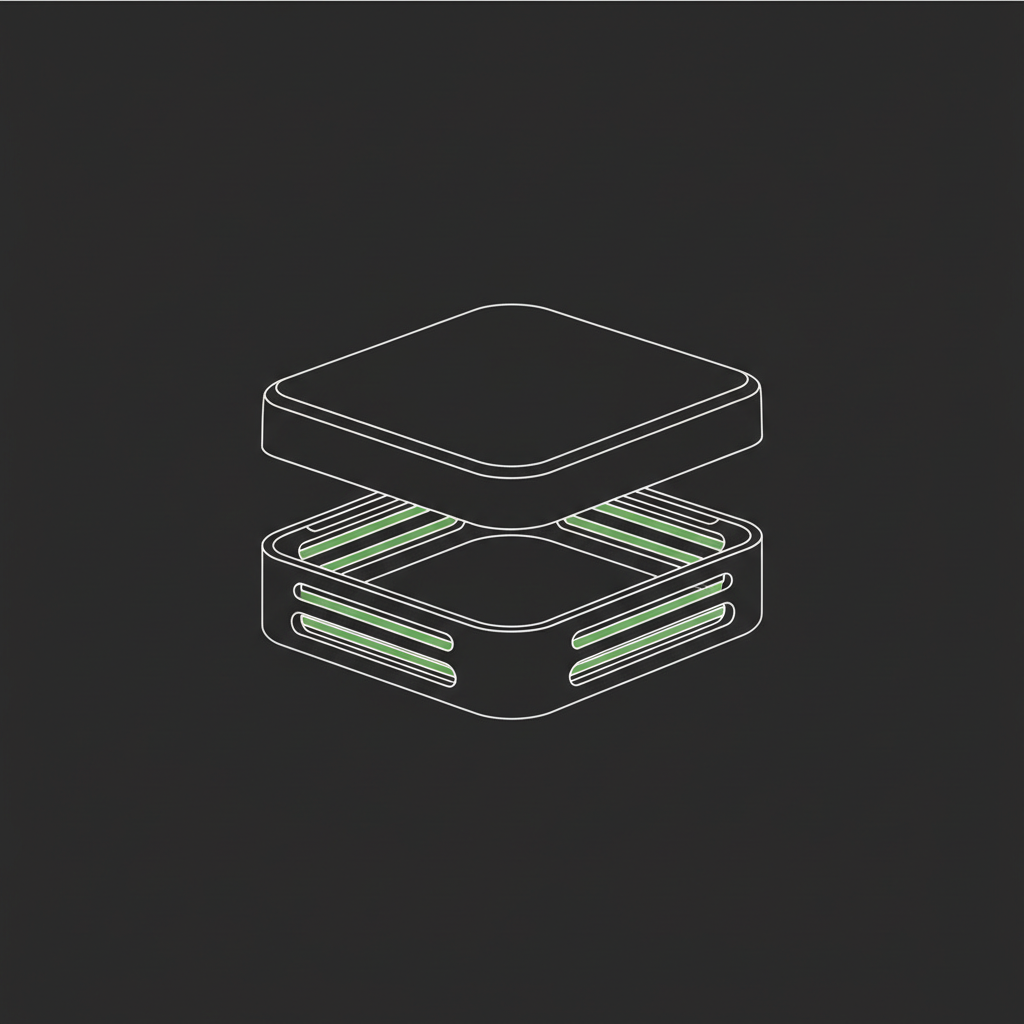
NVMe Base Case, aluminium
$41.50
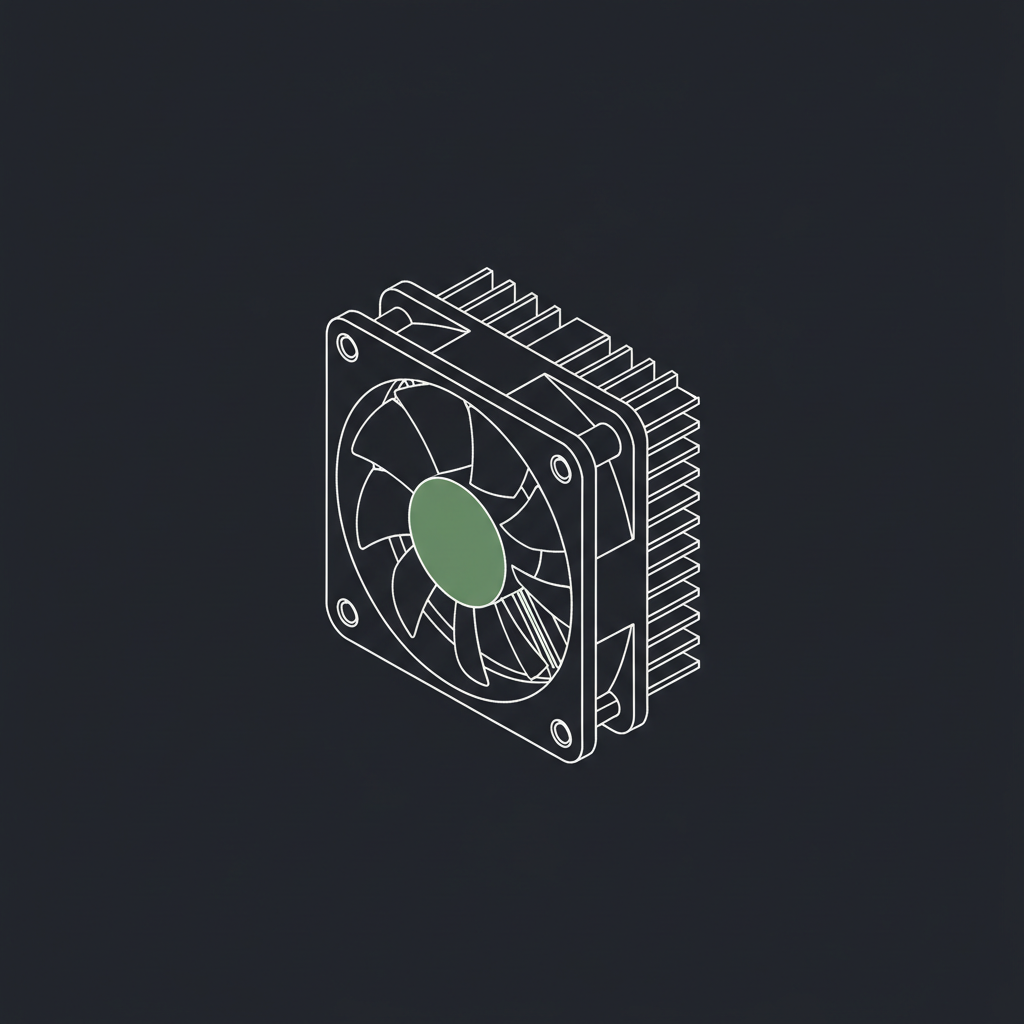
Raspberry Pi 5 Active Cooler
$8.80

Raspberry Pi 5 RTC Battery
$8.60
Crucial T500 500GB NVMe SSD
$199.00
what we paid
AU$284.10
Whole build AU$735.10
Two buying notes that save money
Get the 16GB board. The RAM is soldered, so you can never upgrade it later, and 16GB runs five to eight AI sessions at once. And shop the SSD around: any 500GB Gen 4 drive performs the same on the Pi's Gen 2 lane, and prices for the same drive varied by AU$50 between shops when we bought ours. Buy the bare drive with no heatsink or it won't fit the base.
assembly
Five steps with a small screwdriver.
The whole physical build takes under an hour. No soldering. Every connector only fits one way.
- 01
Clip on the active cooler
It clips straight onto the main chip and plugs into the Pi's dedicated fan header. Peel the thermal pad film first.
- 02
Mount the NVMe base underneath
Screw the SSD into the base's M.2 slot, then connect the short ribbon cable from the base up to the Pi's PCIe port. The Pi sits on top of the base like a bunk bed.
- 03
Plug in the clock battery
The RTC battery clicks into the small connector next to the USB-C port. Stick the coin cell to the case wall with the included adhesive. Now the Pi keeps correct time through power cuts, which keeps certificates and scheduled jobs healthy.
- 04
Close up the aluminium case
The whole stack drops into the aluminium case, which doubles as a heatsink. Four screws and it's sealed.
- 05
First power-on from the SD card
Insert the pre-loaded SD card, connect ethernet if you can, plug in the 27W supply. It boots headless. You'll never plug a monitor into it.
software
From first boot to always-on server.
Six short blocks of terminal work. The downloadable build guide has every command with explanations. Here's the shape of it.
ssh pi@raspberrypi.local      # default login, change it right away
passwd
sudo apt update && sudo apt upgrade -y
curl -fsSL https://deb.nodesource.com/setup_20.x | sudo -E bash -
sudo apt install -y nodejs tmux git git-lfs gh
npm install -g @anthropic-ai/claude-code
echo 'export EDITOR=nano' >> ~/.bashrc
curl -fsSL https://tailscale.com/install.sh | sh
sudo tailscale up      # approve in the browser, note the 100.x.y.z address
sudo rpi-eeprom-config --edit    # set BOOT_ORDER=0xf416 (NVMe first)
lsblk                            # confirm the SSD shows as nvme0n1
# clone SD to NVMe, pull the SD card, reboot
# (the build guide covers the clone step by step, including
#  the rpi-clone naming bug and the manual method that avoids it)
# tmux-resurrect + tmux-continuum: sessions auto-save every 15 min
# and restore themselves after a power cut
git clone https://github.com/tmux-plugins/tpm ~/.tmux/plugins/tpm
# systemd units for anything long-running: Restart=always, done
# restic + rclone → encrypted, deduplicated snapshots to cloud storage
# nightly at 2am, keeps 30 daily + 12 monthly
# after the first full backup, each night uploads only ~50-200 MB
pocket access
Drive it from a tablet on the couch.
This is the part people don't believe until they see it. A Samsung tablet or Android phone becomes a full dev terminal with two free apps.

Termux, from F-Droid only
Termux is the terminal app. Install it from F-Droid, not the Play Store (that version is broken). Then Tailscale from the Play Store, signed into the same account as the Pi.
One key, then never a password
Generate an SSH key in Termux, add it to the Pi, and set a two-line SSH config. From then on the whole connection is just ssh pi.
Screenshots straight to the AI
A five-line shell function sends the tablet's latest screenshot to the Pi over SSH, so Claude Code can read what you're looking at. It's in the cheat sheet.
Split screen, real workflow
Termux on the left running Claude Code, Chrome on the right previewing whatever the Pi is serving. Volume keys act as Ctrl and arrows when there's no keyboard attached.
the pack
Take the whole thing with you.
Grab the file you need, or take the whole pack in one hit. Print them, drop them in your own repo, or hand them to whoever is doing the build. No email required.
beyond the hardware
The box is the easy part.
What runs on it is where the leverage is: your operations, written as code an AI can execute. Book 30 minutes with our team and see what that looks like for your business.